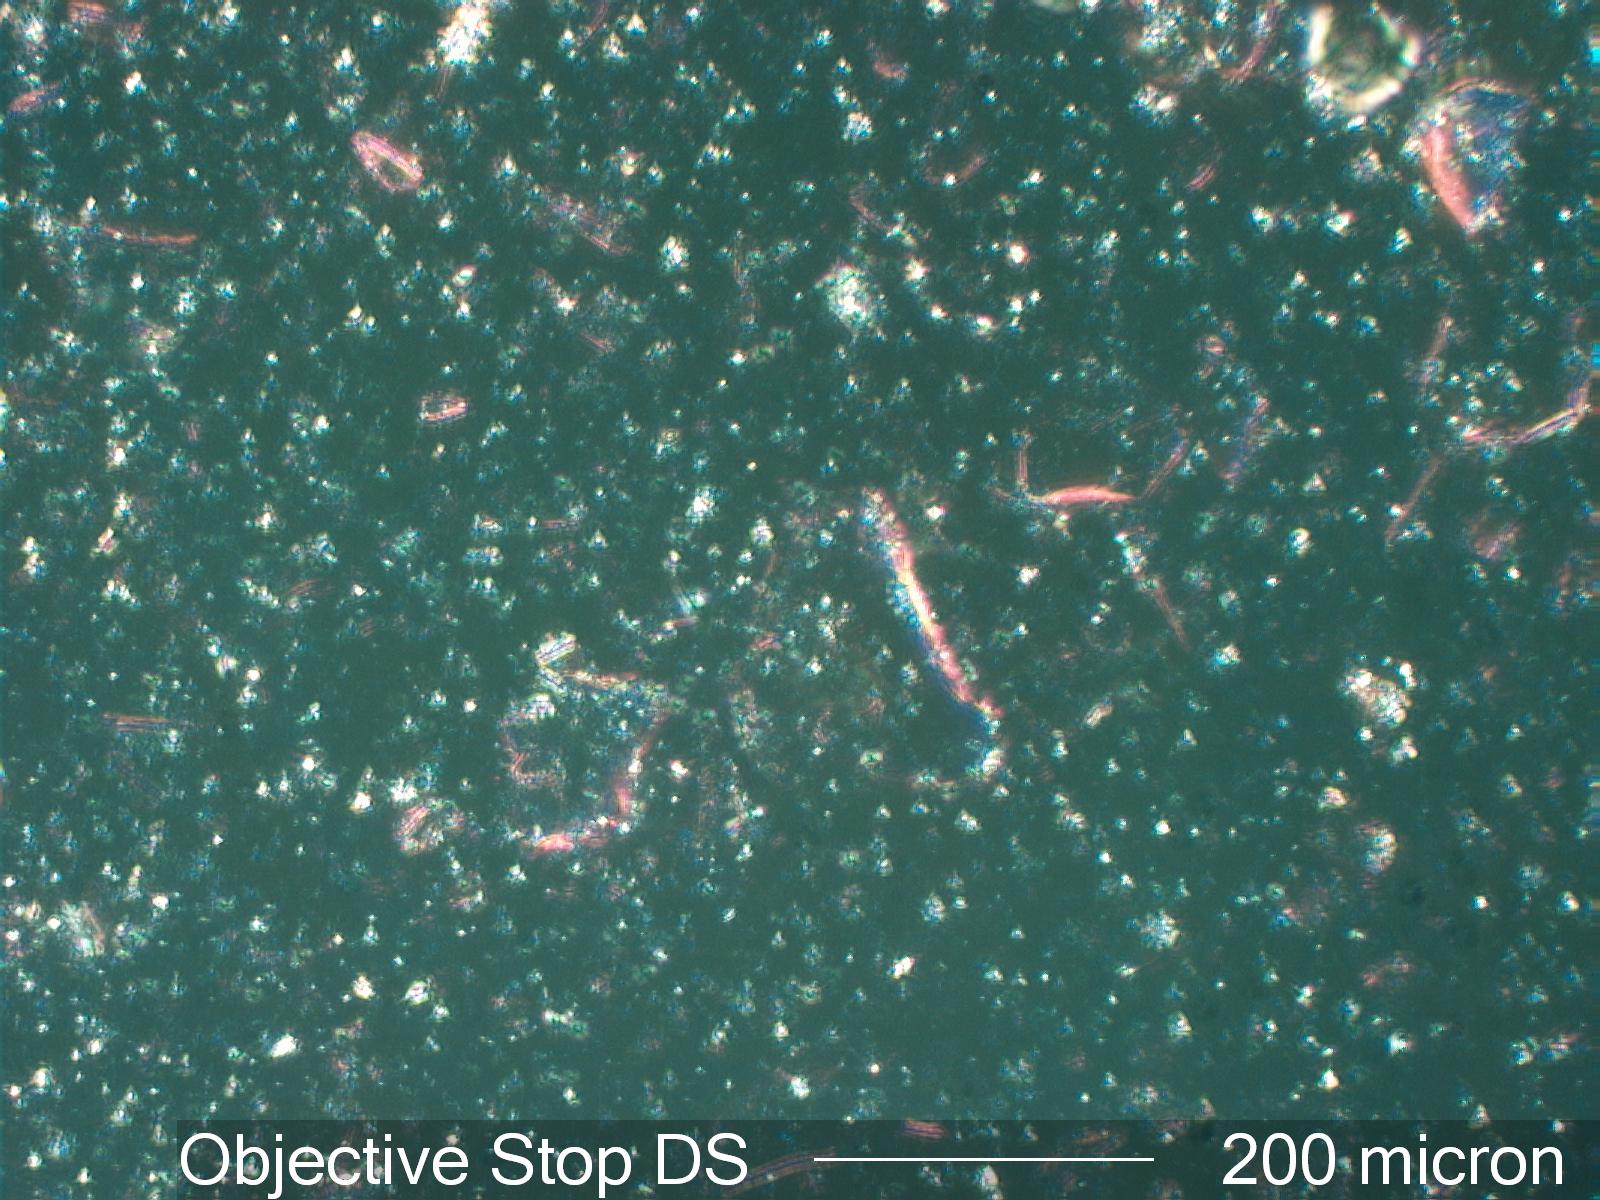
Objective Central Stop Dispersion Staining
These are the colors seen when using a commercially available objective central stop with the 1.67 optical glass standard in Cargille Melt Mount 1.662 refractive index liquid. The wavelength at which this glass and this liquid match is 490 nanometers. The difference in dispersion is 0.011.
Definition/Function:
Dispersion Staining is an optical staining technique created by differences in the dispersion of the refractive indices for a particle and the liquid in which it is mounted. Objective back focal plane central stop dispersion staining is one of the five methods of dispersion staining. It has been promoted as the primary method of dispersion staining largely because commercial objectives have been produced to facilitate its use. Properly configured for a specific microscope it produces spectacular colors. Unfortunately the commercial objectives do not work equally well on all microscope models. A better approach is to make your own back focal plane stops for an extra 10X objective. This method of dispersion staining works well for uncluttered fields of view. It also has a wide range of particle sizes for which it is effective, from less than a micrometer to over 100 micrometers in diameter.Conditional Requirments:
This approach works best with a mounting medium that has a steep dispersion curve. Most liquids with refractive indices above 1.60 meet that requirement. There are "high dispersion" liquids sold commercially designed specifically for dispersion staining. These sets normally start at a refractive index of 1.500 and go up to about 1.700. The particles of interest are mounted in one of these liquids that matches the refractive index of the particles at some visible wavelength. High dispersion liquids can also be made by mixing cinnamic aldehyde (R.I. about 1.62) with triethyl phosphate (R.I. 1.406), or methylene Iodide (R.I. 1.737). A less expensive set of high dispersion liquids can be made with cinnamon oil, also called cassia oil (R.I. about 1.60) and clove oil (R.I. about 1.53) or caster oil (R.I. about 1.48). These oils can generally be purchased at any local drugstore. When liquids are mixed it is good to test them against standard glasses or minerals on a regular basis. The commercial refractive index liquids are designed for long term stability.
The particles must be mounted under a coverslip to optimize the effects and minimize in interference cause by any optical anomaly in an unmounted specimen.
Microscope Configuration:
This method of dispersion staining requires a special objective that may be purchased or made by the microscopist for this application. If the objective dispersion stop is to be made it is recommended that a spare 10X objective be used. Begin by cutting a clear ruler so that a section of the ruler can be place across the center of the back of the 10X objective. Put the objective with the ruler section back into the nosepiece of the microscope and focus on a specimen on the stage with the microscope configured for Koehler illumination. Now view the back focal plane of the objective (where the ruler is) using a phase telescope, the Bertrand lens, a pinhole eyepiece, or by removing the eyepiece and viewing down the tube. Close down the sub-stage condenser iris all the way and measure its projected diameter at the back of the 10X objective. Take this measurement and increase it by 10%. That is the diameter of the opaque stop that will have to be place at the back of this objective. The objective is now removed and a #1 circular glass coverslip with the opaque stop fixed in place is set at the back of the objective and centered. The objective is placed back in the nosepiece and focused on the specimen on the stage. The sub-stage condenser iris is closed down and should completely disappears when the back of the objective is examined as before. If its image is not completely blocked by the stop it may be possible to adjust the condenser iris slightly to move the image of the iris inside the stop. Once this is done the microscope is configured for objective stop dispersion staining. Once the stop is made and fixed in place this objective may be used permanently for this method of dispersion staining. It should perform much better than commercial dispersion staining objective unless you have one that was specifically made for your model of microscope.
If you have a commercial dispersion staining objective then begin by establishing Koehler Illumination. Rotate in the dispersion staining objective and then close down the sub-stage condenser iris. Slide the central stop into place and center it by viewing the back focal plane of the objective and using the adjustments provided so that the image of the sub-stage iris is blocked completely. Revert back to orthoscopic viewing and proceed with the analysis.
